
How to apply cluster lashes at home
Applying cluster lashes takes about ten to fifteen minutes: clean and dry your lashes, place each cluster underneath your natural lash line starting at the outer corner, then press them together. Pre-glued clusters are ready to go; bond & seal clusters add a thin layer of bonder before and a coat of sealer after. The full method is below, along with how to take them off safely and what to do when something goes wrong.
This is the method Sigita uses in the Lash Babe Pro studio, written for someone doing it themselves for the first time. Apply, press, ready.
What you need
Pre-glued
Pre-Glued Lash Clusters
Adhesive already on the band — no bond, sealer or remover
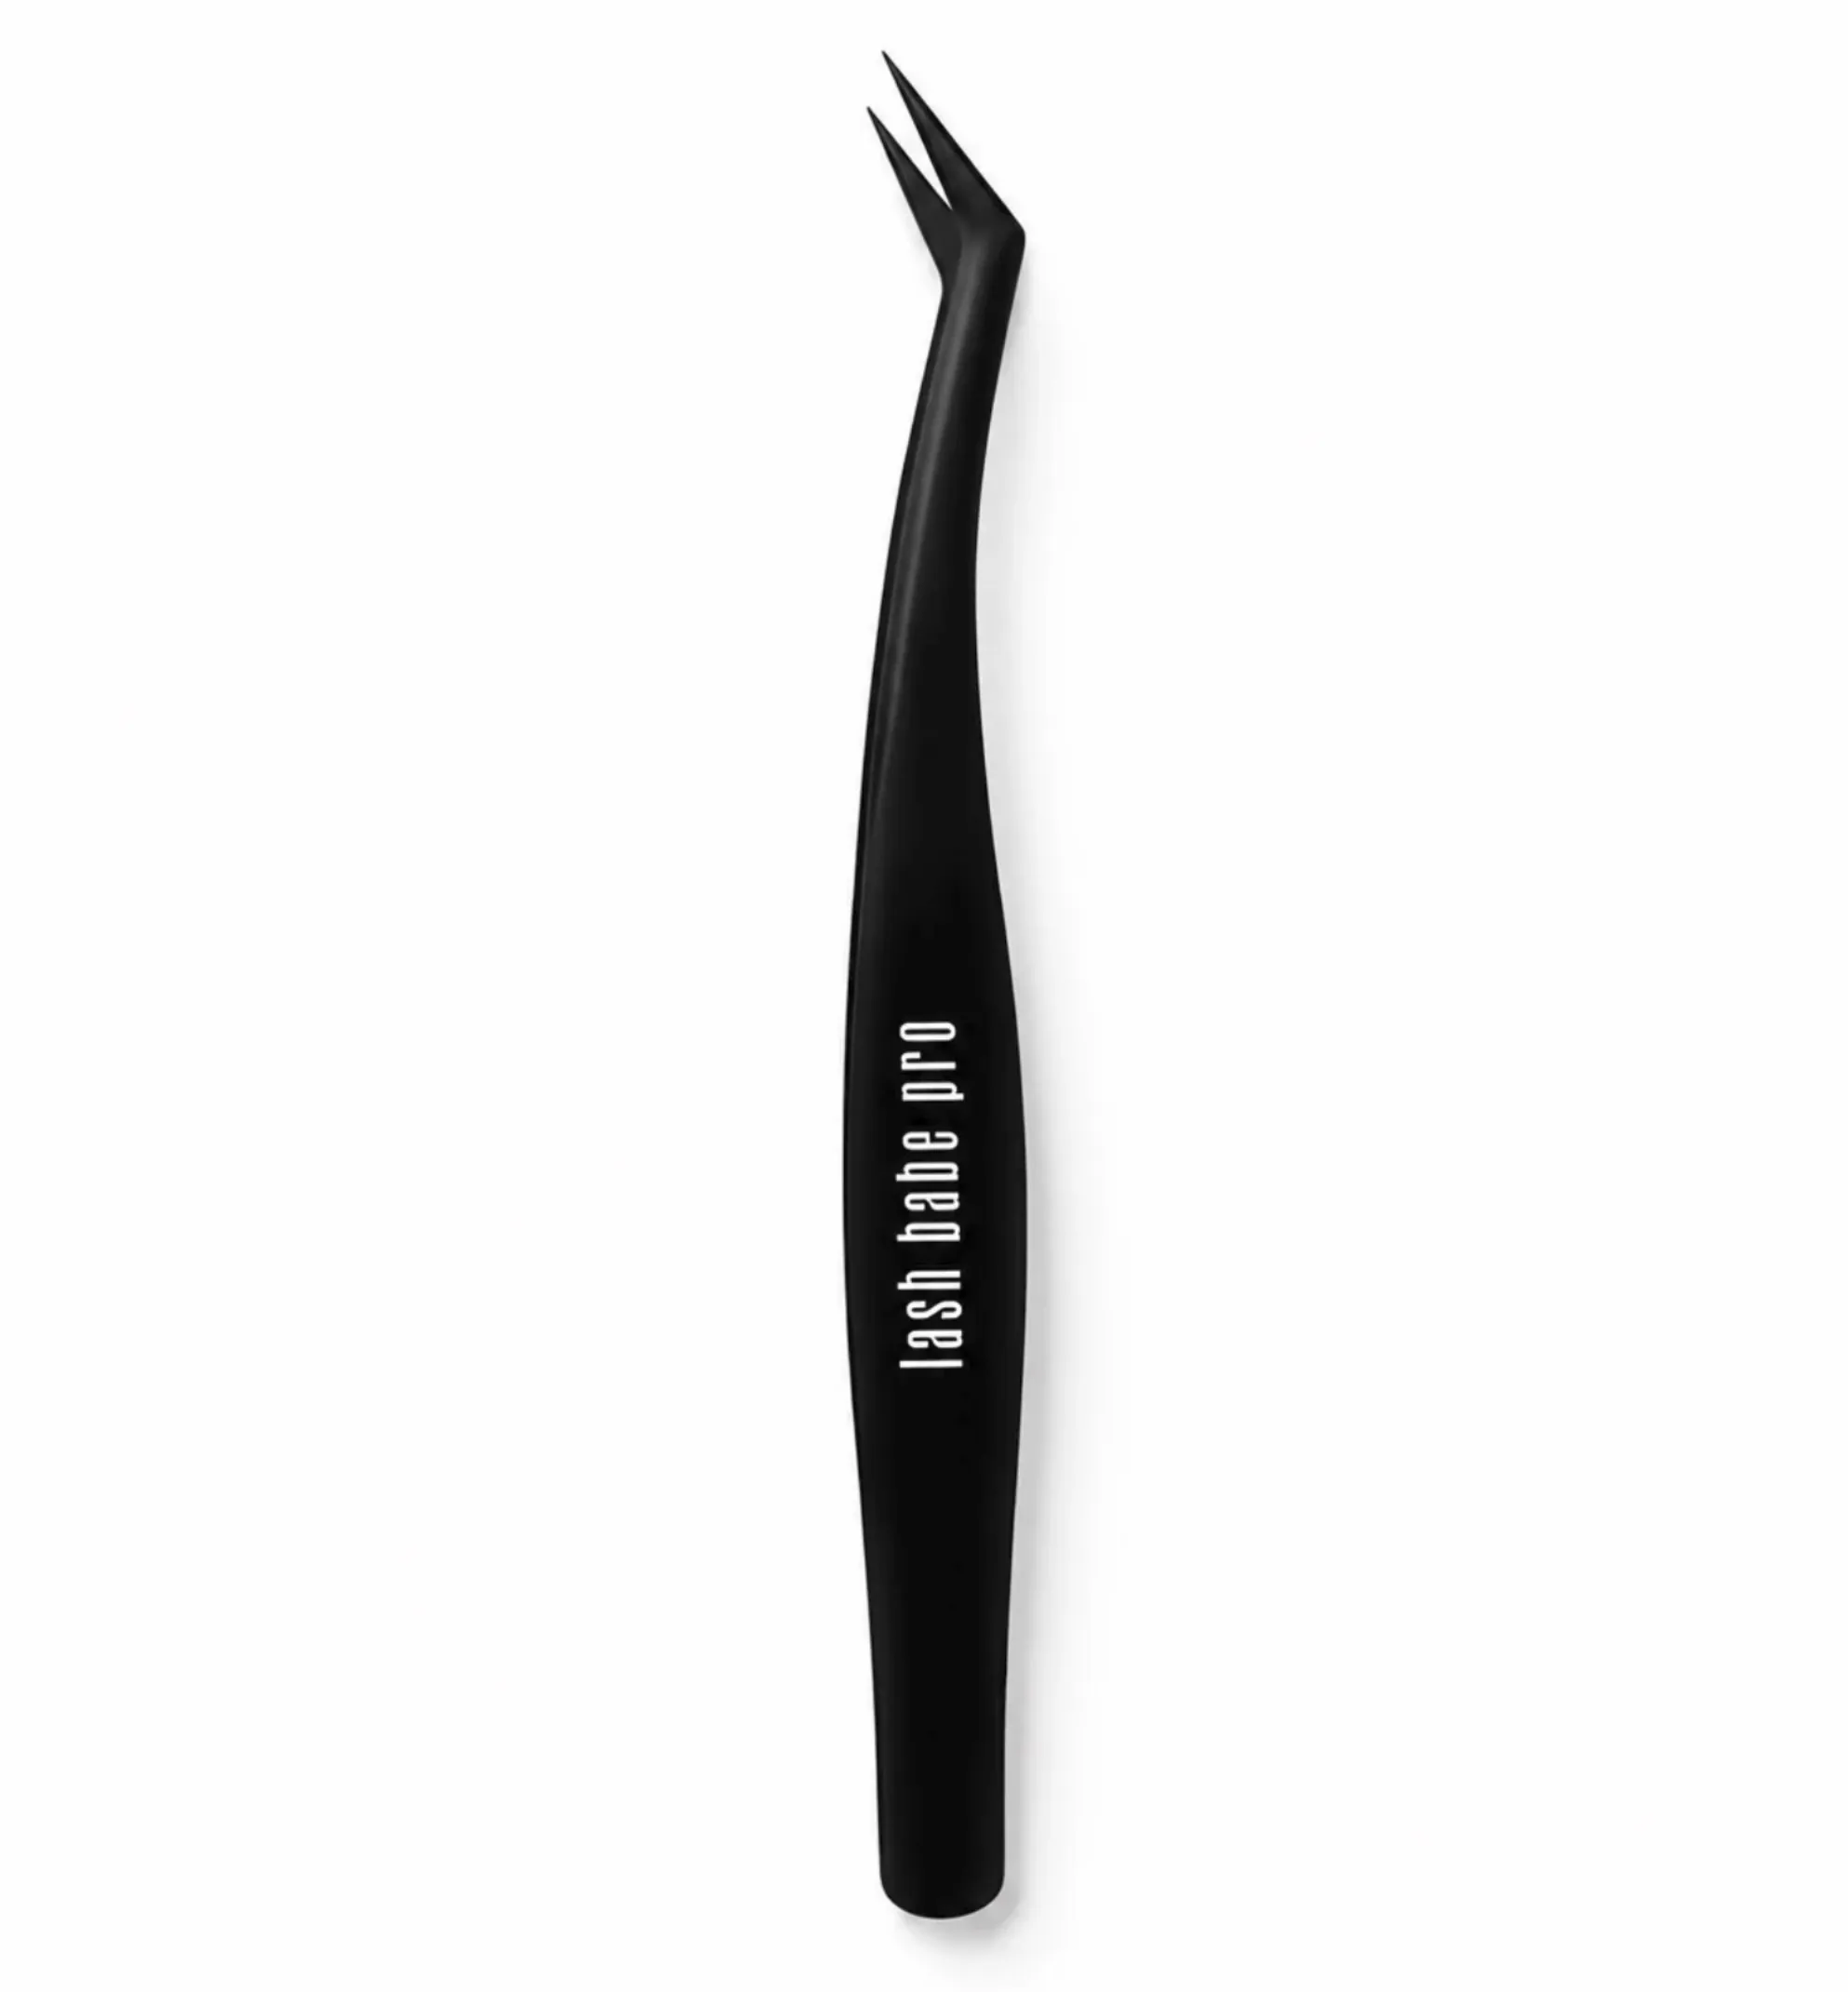
Cluster Lash Applicator
Optional, but makes placement far easier
Oil-free cleanser
For prep, so the adhesive grips
The Pre-Glued Essential Kit has the clusters and applicator together.
View the kitBond & seal
Bond & Seal Lash Clusters
No adhesive on the band; latex-free system
Bonder & Sealer Duo
Bonder to hold each cluster, sealer to lock the set
Cluster Remover
For taking the set off without pulling
Cluster Lash Applicator
For lifting, placing and pressing
The Bond & Seal Starter Kit has all four together.
View the kitStep by step
Start with clean, dry lashes
Remove all makeup and any oil from your lashes with an oil-free cleanser, then dry them completely. Adhesive will not grip through mascara residue, oil-based cleanser or moisturiser — most failed sets fail here.
Plan your placement
Decide where each cluster will go before anything is sticky: the outer corner, the inner corner, then the gap between. Planning first is what keeps the set even and both eyes matching.
Prepare the adhesive
Pre-glued clusters: nothing to do — the adhesive is already on the band. Bond & seal clusters: apply a thin layer of Bonder from the Bonder & Sealer Duo to the base of your natural lashes where the cluster will sit.
Place the cluster underneath your natural lashes
Gently lift a cluster from the strip with the Cluster Lash Applicator, avoiding the sticky area, and place it underneath your natural lashes, slightly away from the waterline. Under the lash, not on the lid — that is what makes clusters comfortable and safe.
Work outer, inner, then fill the middle
Place your outer-corner cluster first and your inner-corner cluster second, then fill the gap between them. Anchoring both ends first keeps the set symmetrical between eyes.
Press, then seal
Gently press the clusters and your natural lashes together using the applicator. Bond & seal clusters: finish with the Sealer to fix everything in place and remove any tackiness.
Leave them alone for a few hours
Avoid steam, swimming and hot showers for the first few hours while the adhesive sets fully. After that, treat them normally, keeping oil-based products away from the lash line.
How to remove them safely
Gently loosen and remove the clusters from your natural lashes. Never pull or force them. Nearly every story you have heard about DIY lashes damaging natural lashes comes down to someone pulling them off.
Pre-glued lash clusters
No additional remover required.
- Gently loosen each cluster from your natural lashes, working from the base.
- Remove it once it comes away freely. Never pull or force a cluster that is still holding.
- Cleanse your lash line and pat dry before applying a fresh set.
Bond & seal lash clusters
Cluster Remover required, sold separately.
- Apply Cluster Remover along your lash line, following the directions on the product, and give it time to soften the bond.
- Gently loosen and remove each cluster from your natural lashes. It should come away with no resistance.
- Give anything that resists more time with the remover — it needs more remover, not more force.
- Cleanse with an oil-free lash cleanser and pat dry before applying a fresh set.
More detail, including what not to do, in our guide to removing cluster lashes safely.
When to stop and see a professional
- Redness, swelling or itching that does not settle after removal
- Any adhesive in the eye itself — flush with saline and see a doctor
- A reaction that comes back every time you apply a set
- Noticeable gaps or thinning in your natural lashes
Before first use: do a patch test 24 hours before first use. Do not use on irritated or sensitive eyes.
Adhesive and latex sensitivities are uncommon but real. If you react, stop using the product rather than trying a different brand of the same thing.
Fixing the five most common problems
They lifted at the outer corner after a day
Almost always the cluster was not pressed firmly into the natural lashes at its outer end, or oil reached the lash line. Re-cleanse, make sure the very end of the cluster base is pressed in, and keep eye creams off the lash line.
They feel heavy or spiky
The style may be too full for your natural lashes, or the clusters are sitting on the lid rather than under the lashes. Try a softer style such as 01 Textured Natural, and place each cluster right up under the lash line.
They only lasted two days
Usually lashes that were not fully clean and dry, skipping the sealer on a bond & seal set, or an oil-based cleanser going near the eye. Fix those three and most people jump straight up the wear range.
They stuck to each other and clumped
Too much bonder, or placing while it was still wet. A thin layer, and placing the cluster once the bonder is no longer wet, solves both.
My eyes stung or watered
Adhesive touching the skin or waterline, or a sensitivity. Keep the cluster slightly away from the waterline and apply in a ventilated room. Our Pre-Glued Lash Clusters contain latex; if you have a latex sensitivity use the latex-free Bond & Seal system. If irritation persists, remove the set and stop — no set of lashes is worth a reaction.
Application questions
- How long does it take to apply cluster lashes?
- About ten to fifteen minutes once you have done it a few times, and pre-glued clusters are the quickest. Your first set will likely take closer to half an hour, and that is completely normal.
- Can I shower and sleep in cluster lashes?
- Yes, once the adhesive has set for a few hours. Avoid pointing the shower directly at your face, and sleeping on your back will noticeably extend how long a set lasts.
- Can I reuse cluster lashes?
- Treat clusters as single use. A box has 8 rows, about 6 to 8 full sets, so a fresh set each time gives the best result and still costs only a few dollars.
- What do I do if I place one crooked?
- Reposition it immediately while the adhesive is still tacky. If it has already set, gently loosen it off rather than pulling it (bond & seal clusters need Cluster Remover) — it takes an extra minute and saves your natural lash.
- Do I need a special applicator?
- It makes placement much easier and safer than fingers or eyebrow tweezers. Our Cluster Lash Applicator has an angled, non-stick tip for lifting, placing and pressing each cluster, and it is included in both of our kits.
Everything in this guide, in one kit
The Pre-Glued Essential Kit or the Bond & Seal Starter Kit — the exact setup described above, shipped NZ-wide.
Shop now